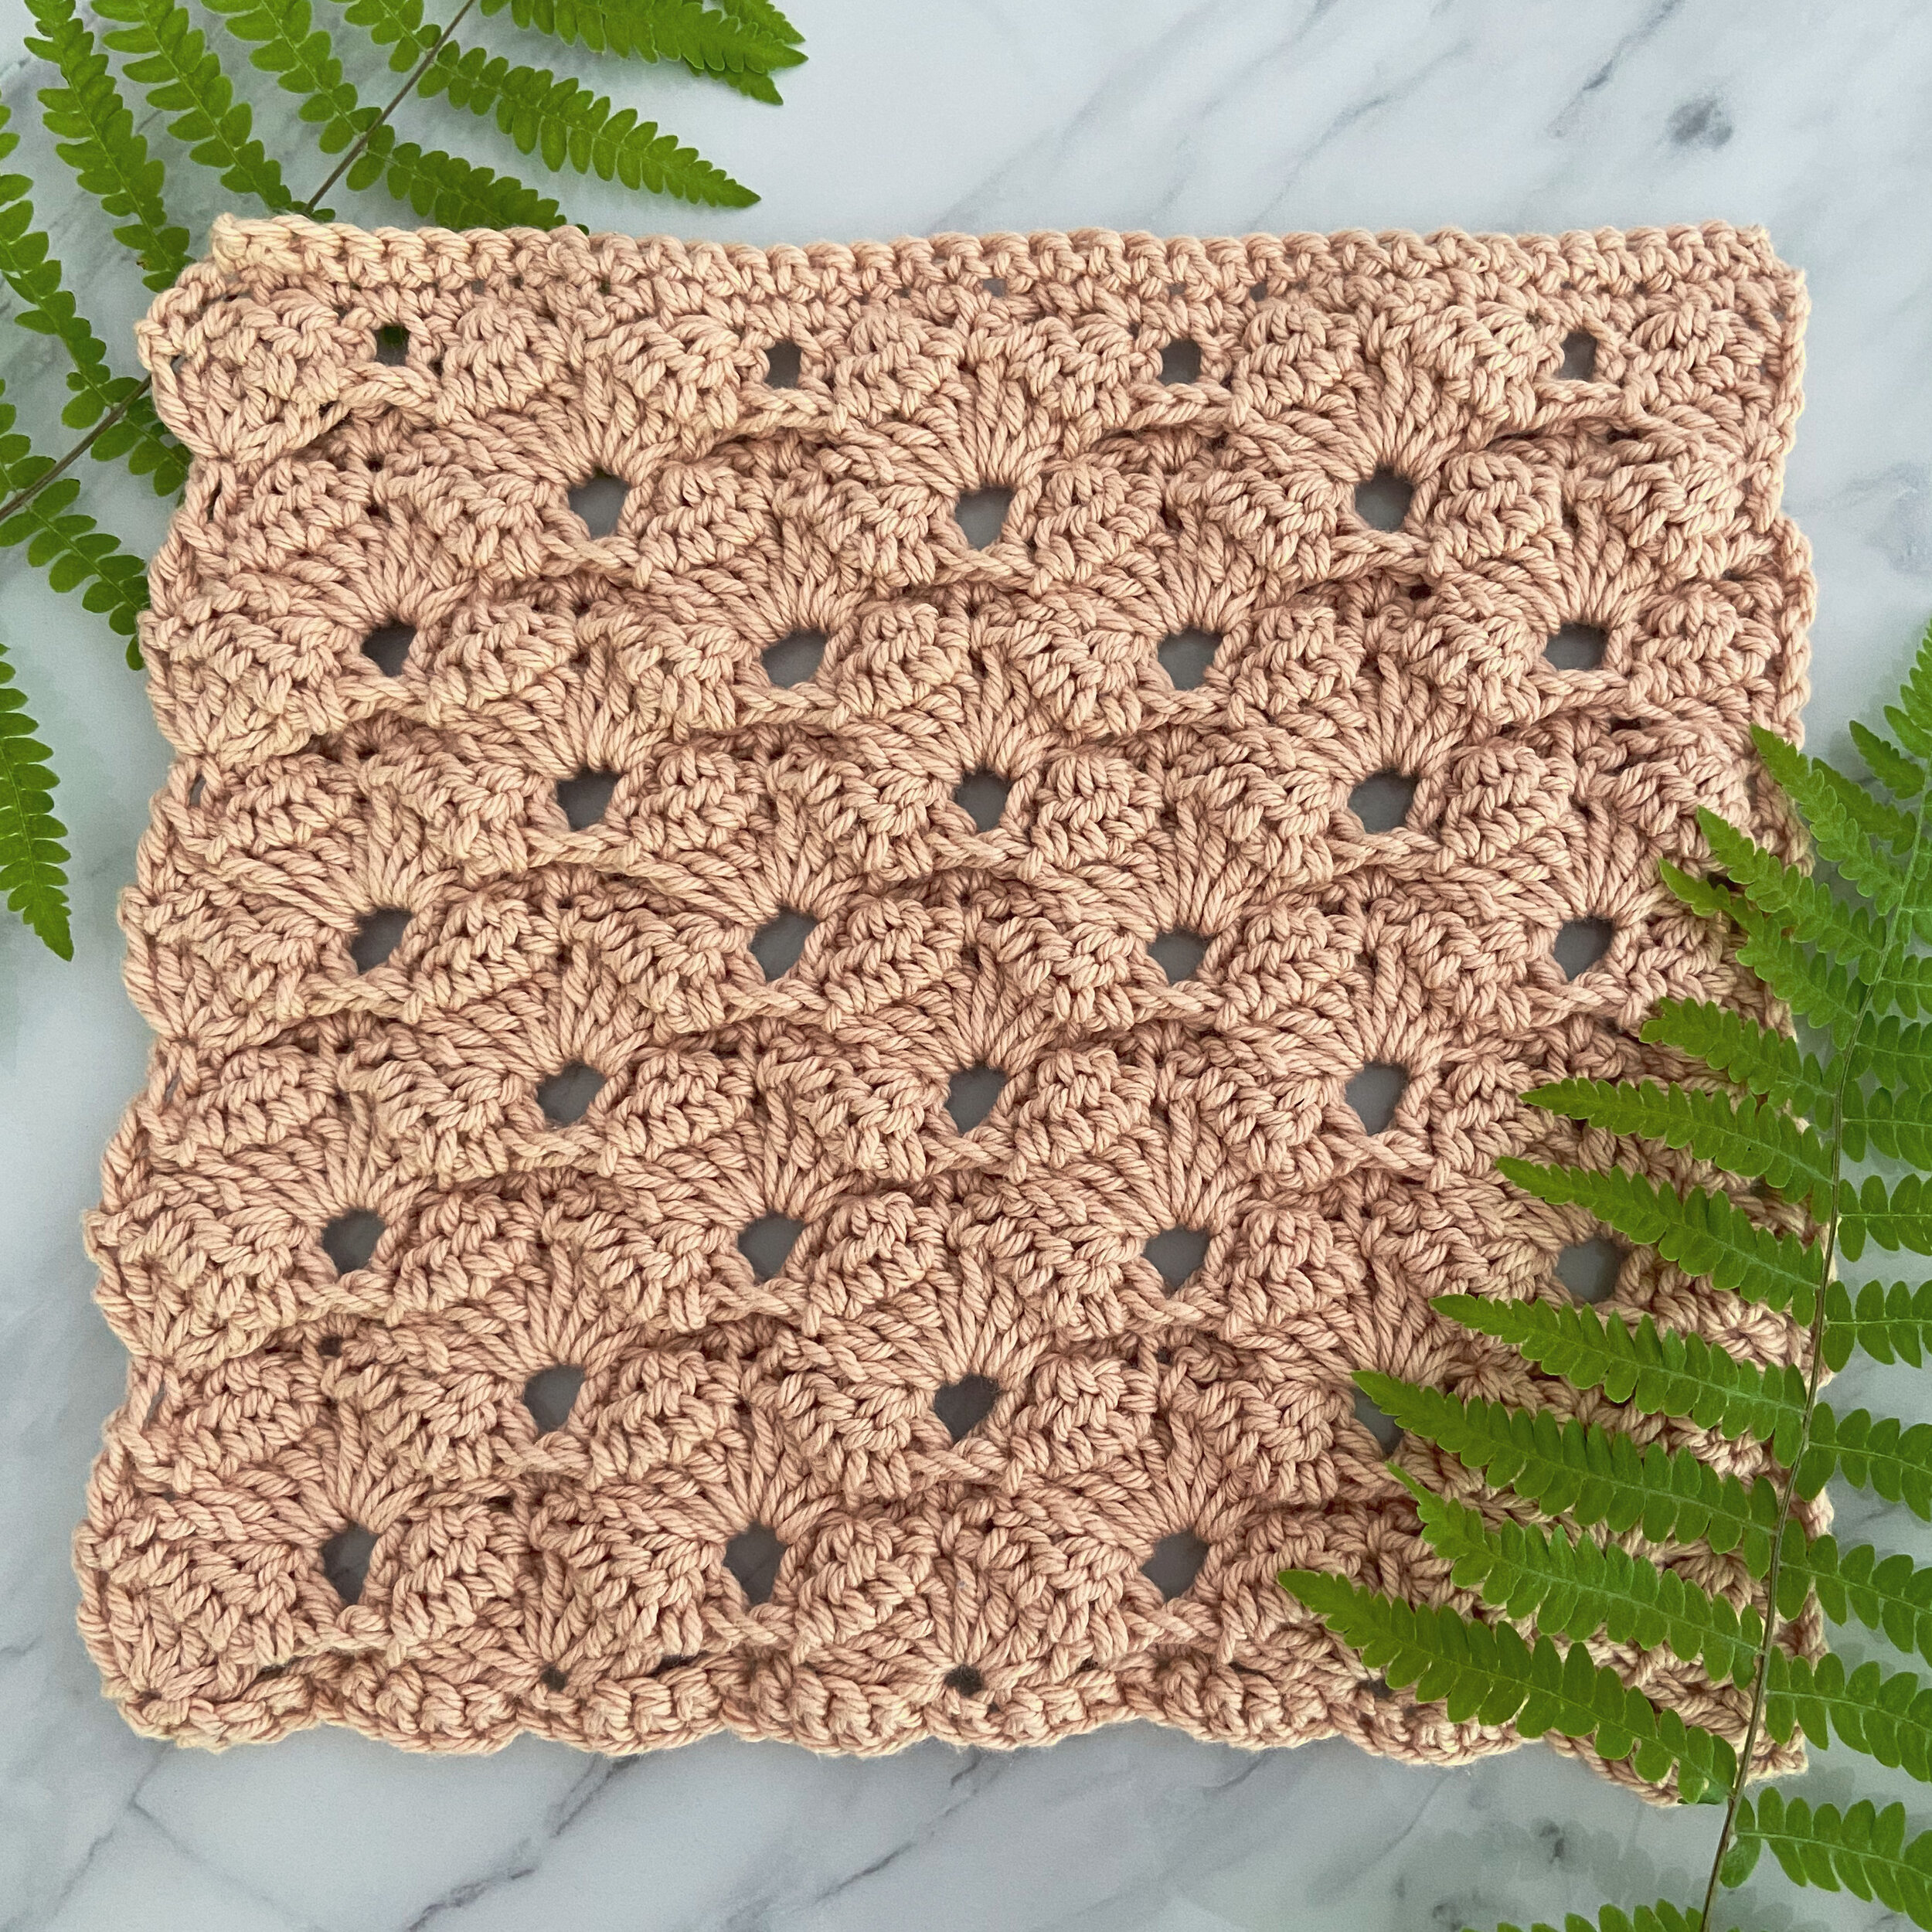
Tunisian Checkerboard Dishcloth
/This post may contain affiliate links, meaning that if you click through and make a purchase, I earn a small commission at no extra cost to you. This helps support my business and makes it possible for me to bring you free content.
Hey, hi, hello! The Stitch Exploration Series is back, baby!
I took a bit of a break over the Fall/Winter because I had a lot of other yarny (and non-yarny) commitments, but I really missed the exploration aspect. Now that things at my day job have calmed down a bit, I’m excited to revive this monthly blog series, and with a twist - for the next few months, I’ll be focusing on Tunisian crochet techniques!
If you’re not familiar with my Stitch Exploration Series, here are the details: Each month, I post a new FREE dishcloth pattern that uses an interesting technique, skill or stitch. This is the first pattern in the series that uses Tunisian crochet - check out the others (that use traditional crochet) HERE.
This series is all about testing out new skills without the pressure of having to create a large project like a garment. When I’m designing, I find that I tend to choose familiar stitches, which can limit my creativity. I’ve chosen dishcloths because they’re small enough to finish up quickly, but large enough to get a general idea of the fabric the stitch pattern will create!
For this series, I’ve chosen a beautiful, durable cotton yarn, Dishie from WeCrochet. It comes in lots of fun colours (30 solids in total, plus there are also Dishie Twist and Dishie Multi!), and it is really nice to work with. It’s also really durable, making it great for dishcloths! In my experience so far, this yarn really holds up well during tough scrubbing.
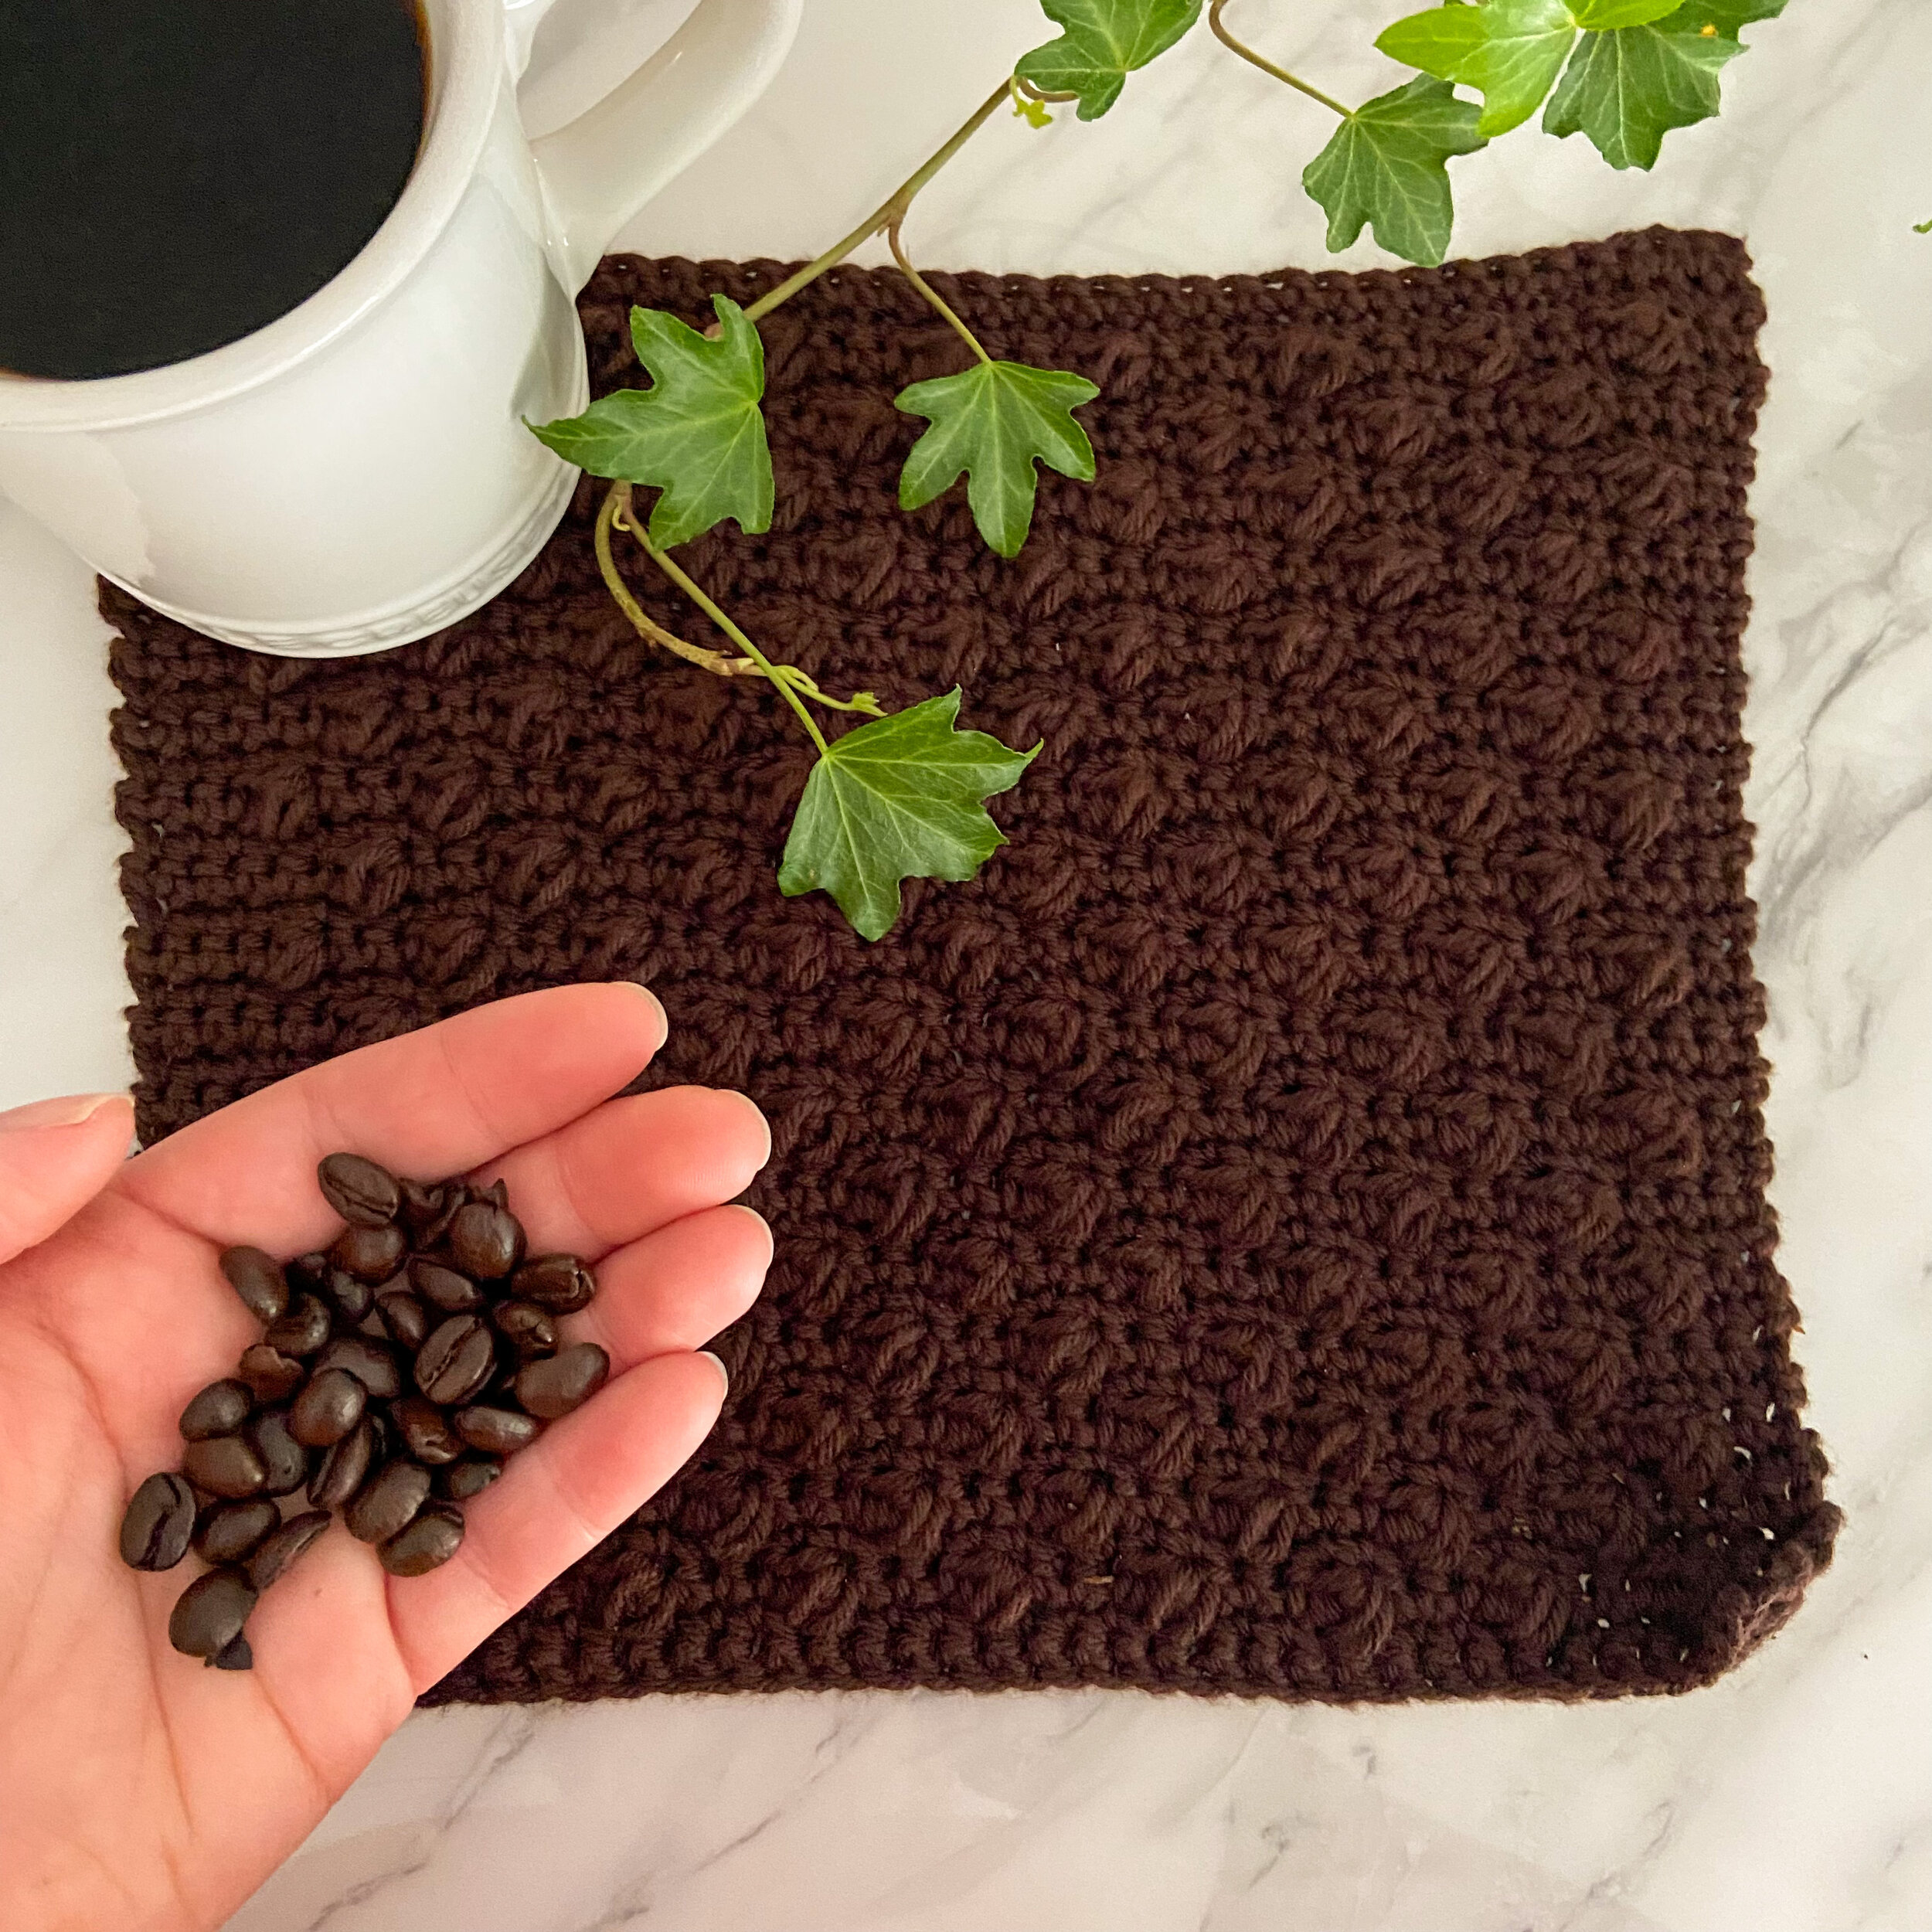
Check out some of the previous patterns in the series - the Keyhole Dishcloth (cream) is probably my favourite so far, and the Coffee Bean Dishcloth is a fan favourite, with almost 200 likes and tons of projects on Ravelry!
If this is your first ever Tunisian crochet project, first of all, I am honoured! Second, I highly recommend that you check out a few tutorials first. This pattern is written with the assumption that you are comfortable with the basic stitches and can identify the different parts of the stitch (you’ll know what I mean once you get the hang of it!). My dear friend Toni of TL Yarn Crafts has an excellent beginner video - check it out HERE.
Once you’ve worked a few practice rows and feel comfortable, dive into the pattern below, and let your obsession with Tunisian crochet begin!
Materials
Hook - US J/6mm Tunisian crochet hook, or size needed to meet gauge.
Yarn - WeCrochet Dishie, worsted (4) weight 100% cotton, 190 yds (174m)/100g (3.5oz) per skein.
Sample uses approx. 60 yds of the colour Fiesta Red.
Notions - scissors, tape measure, yarn needle.
Terminology/Abbreviations
This pattern uses standard US terms as detailed by the Craft Yarn Council:
Ch - chain
Lts - last Tunisian stitch (insert hook under both vertical loops of the last stitch of each row)
RetP - Return Pass (ch 1, *yarn over and pull through 2 loops, repeat from * until 1 loop remains on hook)
Tps - Tunisian purl stitch - VIDEO TUTORIAL
Tss - Tunisian simple stitch - VIDEO TUTORIAL
Sl st - slip stitch
St(s) - stitch(es)
* - repeat instructions as directed
Sizing
Gauge - 9 sts x 7 rows = 2” / 5cm in tss
Finished measurements - approx. 7” /18cm wide, 7.5’/19cm tall
See the Variations section below for instructions on how to change the size.
Notes
The first loop on your hook to start each row counts as a stitch in the overall stitch count, but it is not included in the instructions.
Gauge is not critical for this project, however, if yardage is a concern, you should aim to meet it as closely as possible. No one will judge an extra half inch on your dishcloth!
Generally, I do not block cotton washcloths, because they’re just going to get wet anyway. If you’re making for gifting, or just want to straighten things out, feel free to block as you see fit.
Pattern Instructions
Row 1: Ch 27 and turn. Starting in the second st from hook, pull up a loop in the back bumps of each ch st, and complete a RetP. < 27 sts >
Row 2: *Tps the next 5 sts, tss the next 5 sts. Repeat from * until 1 st remains. Lts, RetP.
Rows 3-5: Repeat Row 2.
Row 6: *Tss the next 5 sts, tps the next 5 sts. Repeat from * until 1 st remains. Lts, RetP.
Rows 7-9: Repeat Row 6.
Rows 10-25: Repeat Rows 2-9 twice more.
Bind off in sl st and weave in ends.
Variations
This checkerboard pattern can be easily adjusted to create a larger or smaller dishcloth. Start with any multiple of 5+2 chain stitches, and work fewer or more repeats of Rows 2-9.
To change the size of the individual “squares” within the checkerboard, decide how many stitches you would like in each square, then start with a chain of a multiple of that number + 2.
For example, if you want 6 stitches in each square and you want your dishcloth to be 5 squares wide, you would start by chaining 32 - (6x5)+2. Adjust the number of row repeats accordingly to maintain a square, or have fun with different rectangle sizes within the pattern!
Keep in mind that any alterations to the stitch or row counts will adjust the yardage required.
Even the reverse side of this pattern has a great texture!
Which reminds me… if you’re a fan of appreciating the backside of your yarny projects, check out the hashtag #WIPItAndReverseIt on Instagram! That’s where I share fun “wrong side” textures - I invite you to share your favourites, too!
Save this pattern to your Ravelry queue, or add a project to the pattern page!
Congratulations on finishing your Tunisian Checkerboard Dishcloth! This is a great pattern for practicing the transition between the two stitches, and for practicing keeping your tension consistent. And, since it’s a relatively looser stitch pattern, I think this would be a great face cloth as well!
I’m having a lot of fun exploring these new-to-me techniques, and I hope you are too! I’d love to see your dishcloths (in finished or WIP form!), or how you’re using the things you’re learning here in your own designs. Share your dishcloth on Instagram using the hashtags #TunisianCheckerboardDishcloth and #StitchExplorationSeries, and tag me, @capital.crochet!
You may sell finished items made from this pattern, but please credit me as the designer by linking back to this blog post.
Thank you so much for your support! If you’d like to be the first to know about new patterns in this series and other blog posts, make sure to subscribe to my newsletter below.


